React Events and State - Part 2
When following along, make sure to do git commits (🚦) after each section!
State is what makes React so powerful, it’s a great way of keeping in sync what is displayed in your component and your JavaScript code.
Project Introduction
Section titled “Project Introduction”We’re practicing with a pre-set starter kit. In this, we’ll be filtering the results of a set of movie names, using React state in the process.
-
Open your workbook to
src\D\nextjs-event-state-jsx-conditionals-START\state-events-conditionals-exampleand take note of what files you have in this project. Run the following in your terminal.\state-events-conditionals-example npm installnpm install-scripts approve --allnpm run dev -
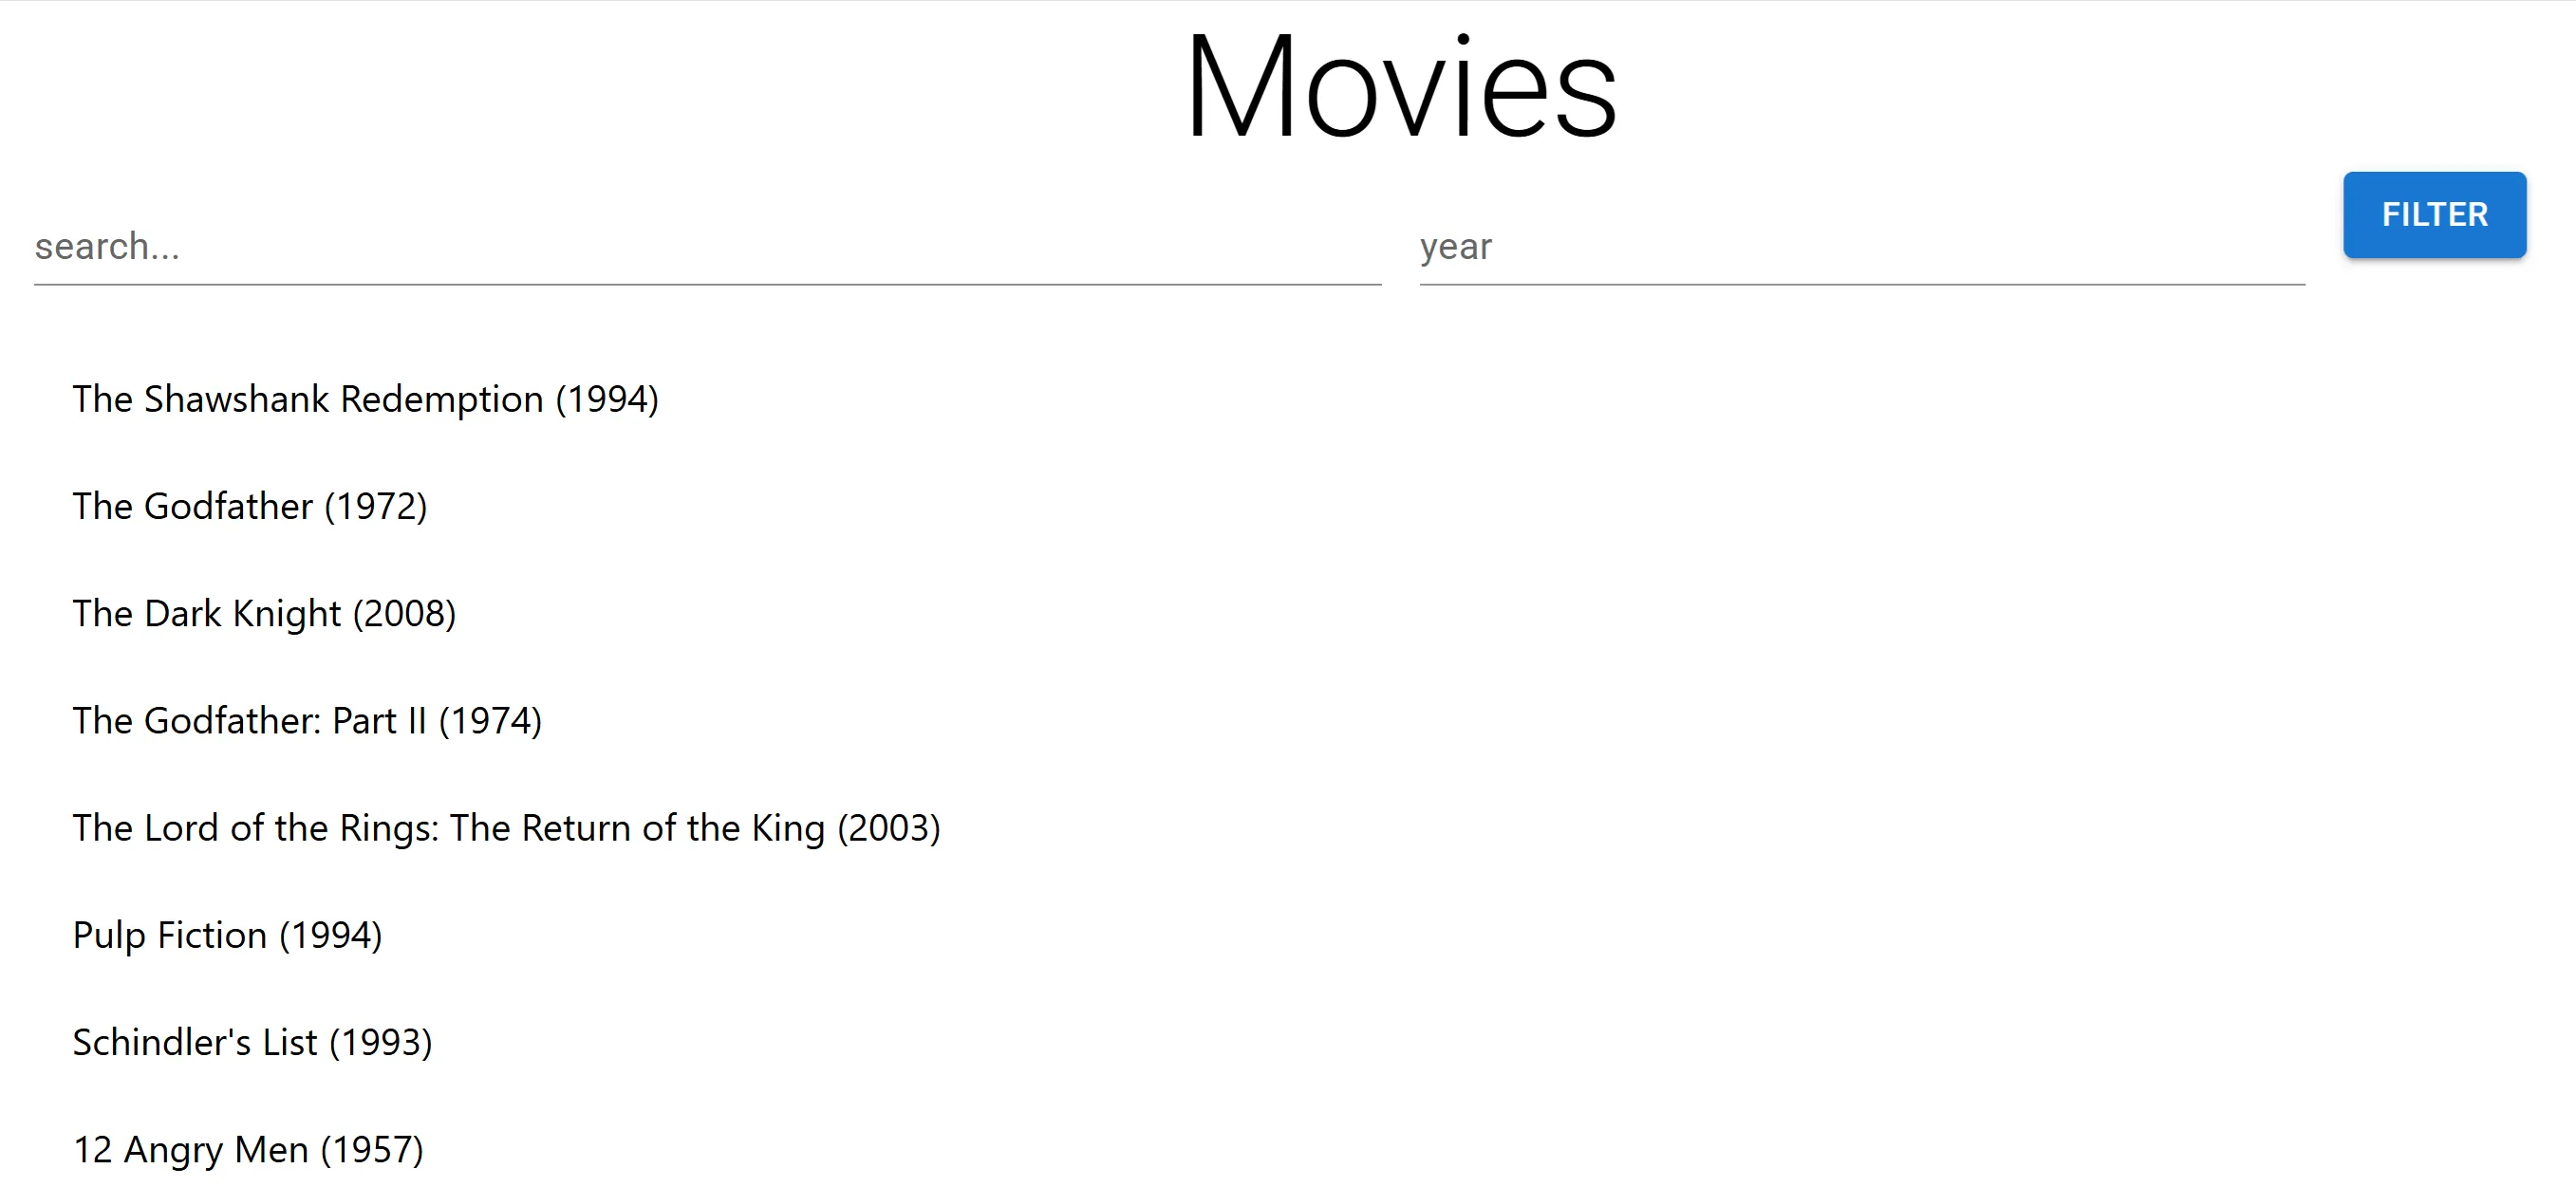
Open the browser. You should see the following data and form for user input.
Capturing User Input in React State
Section titled “Capturing User Input in React State”User input consists of two pieces of information: Some text in the movie’s name and the year of the movie. This is data that is important to the functionality of our component, so we can manage that state using React’s useState() hook.
-
Import the
useState“hook” so that we can create stateful variables.import { useState } from 'react' -
Create the variables under the function definition of
Home.const [search, setSearch] = useState("")const [year, setYear] = useState("") -
Add the following lines for the search text field:
<TextField{//other props here}onChange={(e)=> {setSearch(e.target.value)}}value={search}/> -
Do the same for the year.
<TextField{//other props here}onChange={(e)=> {setYear(e.target.value)}}value={year}/> -
🚦 Do a
gitcommit of your project at this point.
Initial Form Submission
Section titled “Initial Form Submission”All of the user input is meant to be processed when the user clicks the “Filter” button. This submits the form. Before we can do any actual filtering, we need to respond to the submit event.
-
On the form tag we’re going to listen and handle form submissions, and we’re going to prevent the default action the way we’ve learned in the first level of js.
-
Create the event handler for the form submission. We’re also going to print out the stateful variables we’ve created.
const handleSubmit = (event) => {event.preventDefault()console.log(`year: ${year}`)console.log(`search: ${search}`)}You can see here that although react uses SyntheticEvent we can still use the method
event.preventDefault()to prevent the form from submitting. You can also see that theyearandsearchvariables are updated to what theTextFieldcurrently are. -
On the
formelement we’re going to register this handler to theonSubmitevent like so.<formstyle={{width: '100%'}}onSubmit={handleSubmit}>Observe now that that if you press enter or click the “filter” button after writing some text that the variables are printed out in the console.
-
🚦 Do a
gitcommit of your project at this point.
Using State for Movie Results
Section titled “Using State for Movie Results”Here is where we get into the meaty part of our example. Filtering is a process where we choose to show only some of the movies in our small dataset. The small subset is a piece of information we will track using React’s state management system: useState().
There’s a certain logic in how we’re constructing our example at this stage. We’ll make several observations at each step.
-
We’re going to set a filter on the list so we want to create a filtered.
-
create a stateful variable named
moviesconst [movies, setMovies] = useState(MOVIE_LIST)
Note: here that the original value is the
MOVIE_LISTas that’s what’s passed as an argument to the functionuseState. -
-
Change the line in the JSX (contained within the
Listcomponent) as follows so that we can change what the list can be.// from thisMOVIE_LIST.map((movieData, index)=> { /* more jsx stuff */ }// to thismovies.map((movieData, index)=> {/* more jsx stuff */ }this will now use the new stateful variable of
moviesthat you’ve created in the first step. -
Create a function called
filterMoviesthat will use all of the variables so that it can be filtered in the correct way.const filterMovies = () => {// make a copy of the movie list.let filteredMovieList = [...MOVIE_LIST]// check if the search is emptyif (search.trim() !== ""){// loop through the movies and check if the name// includes the search value (both lower case)filteredMovieList = filteredMovieList.filter((movieData)=> {return movieData.name.toLowerCase().includes(search.trim().toLowerCase())})}// check if the year is emptyif (year.trim() !== ""){// loop through the movies and check if the year is the same as thefilteredMovieList = filteredMovieList.filter((movieData)=> {return movieData.year === parseInt(year.trim())})}setMovies(filteredMovieList)} -
Let’s take a look at what this is doing.
- the
let filteredMovieList = [...MOVIE_LIST]is making a copy of the static movie list. - we then check to see if search is not empty, and we only filter if there is a value.
- we loop
filteredMovieListso that the new list is a subset of only the matches to the search queries.- remember that filter returns a new array and takes a boolean value
trueif you want to keep the result in the array andfalseif you want to filter it out. - note that the we are chaining methods together and that might be confusing so let’s break that down.
movieData.nameis a string.toLowerCase()is a method on a string that returns a string..includesis a method on a string (or array) that returnstrueorfalsewhich is why we’re using this in a filter. Thesearch.trim().toLowerCase()is what we’re checking against.
- remember that filter returns a new array and takes a boolean value
- we then check to see if year is not empty.
- we filter through
filteredMovieListso that the new list is a subset that only matches the year that we enter. Let’s break down what is going on in the filter.- the
===operator will returntrueorfalse - on the left side we have
movieData.yearwhich is a number (you can see this in theutils/movies.js) - on the right we have
parseInt(year.trim())since year is a string we need to convert it to a number
- the
- we filter through
- last we use
setMovies(filteredMovieList)which sets the variablemoviesso that the list in our jsx is updated.
- the
-
Let’s take a look at some conditionals and JSX by doing some error handling.
- If you search for “test” you’ll see that there are no results and the page just looks blank.
- we’re going to use the inline && logical operator to inform the users that there are no results.
- In the
Listcomponent add the following code that will display to the user “No results please search again.”{movies.length === 0 &&<ListItem><ListItemText><Typography variant="p" component="div">No results please search again.</Typography></ListItemText></ListItem>}
Let’s take a deeper look at this.
movies.length === 0is our condition which will returntrueorfalse- the
&&is the magic here, if the condition (on the left) istrueit will display the the jsx below it. If the condition isfalseit does not show the jsx below themovies.length === 0 &&.
Note: Test this by searching for “test” in the search bar.
-
Let’s change this slightly to list the number of results on the page (replace the last step with the following)
{movies.length === 0 ?<ListItem><ListItemText><Typography variant="p" component="div">No results please search again.</Typography></ListItemText></ListItem>:<ListItem><ListItemText><Typography variant="p" component="div">{movies.length} movie results</Typography></ListItemText></ListItem>}Let’s take a deeper look at this.
movies.length === 0is our condition which will returntrueorfalse- the
?and the:is the magic here- if the condition (on the left) is
trueit will display the the jsx that is BEFORE the:. - if the condition (on the left) is
falseit will display the jsx that is AFTER the:.
- if the condition (on the left) is
-
Let’s do one more validation to expand on this idea, our “year”
TextFieldis a text field, in later versions we could change the type to number but that’s okay for now because we will check if the statefulyearvariable is a number.- in the component add the function
const isNumber = (value) => {return !isNaN(value)}Note, if you would need to use this in another component it’s propbably a good idea to make a file in the
utils/folder and export this function.- we’re going to validate the search and display a message to the user, first we’re going to have to create a stateful variable called “errorMessage” like so the following:
// other variables defined with useStateconst [errorMessage, setErrorMessage] = useState("")- we’re going to create a function named
validateSearchsearch which is going to set an error message if the year is not a function like so.
const validateSearch = () => {console.log("validateSearch")console.log(isNumber(year))// if the year is emptyif (year.trim().length === 0) {setErrorMessage("")return}// check if the year isn't valid.if (!isNumber(year) || year.trim().length !== 4) {setErrorMessage(`"${year}" is not a valid year`)return}// this will only execute if the year is a numbersetErrorMessage("")}Let’s take a look here: if
year.trim().length === 0is empty then its fine, if!isNumber(year) || year.trim().length !== 4istruethen we have an error (if it’s not a number or if th year number is ridiculous). We alsoreturnearly here. the last thing we do here is that wesetErrorMessage("")because if our function has reached this point, there are no errors.- call the
validateSearchfunction in thehandleSubmitso every time we submit this gets called.
const handleSubmit = (event) => {event.preventDefault()validateSearch()filterMovies()}- display the error message on the page.
// change this{/* Add the error message here*/}// to{ errorMessage !== "" &&<Alert severity="error">{errorMessage}</Alert>}You can see here that again we’re using the jsx conditional of
&&so that the error message will only show iferrorMessage !== ""istrue. -
🚦 Do a
gitcommit of your project at this point.
Answered: 0 / 0 (0%)