HTTP and Server-side API Endpoints
Learning Outcome Guide
Section titled “Learning Outcome Guide”At the end of this class, you should be able to…
- Explain how REST-style APIs support front-end applications and data-driven UI.
- Set up and run JSON Server to simulate a REST API from a local JSON file.
- Perform GET, POST, PUT/PATCH, and DELETE requests using a REST client and the browser, and interpret responses. (Recommend REST Client VS Code extension)
Additional Notes: Focus on front-end consumption of APIs. Avoid deep backend topics; JSON Server stands in as the API. Encourage students to inspect Network tab and verify request/response cycles.
Coding Demo
Section titled “Coding Demo”In-Class Demo Jan 2026 term
To run the coding demo, you need to have your Student Workbook open in Visual Studio Code.
-
Open the terminal window and paste in the following.
Run from the root of your repository pnpm dlx tiged --disable-cache --force DG-InClass/SDEV-1150-A04-Jan-2026/sk/lesson-15 ./src/lesson-15 -
Walk through the steps in the
ReadMe.mdof the new lesson.
Overview
Section titled “Overview”In this exercise, you will explore how front-end applications communicate with backend services using RESTful APIs. You’ll simulate a REST API locally with JSON Server, and send requests using both a browser and a REST client (such as the VS Code REST Client extension). The focus is on understanding how APIs structure and return data and not on writing JavaScript code.
Setup instructions
Section titled “Setup instructions”1. Create the project directory and initialize npm
Section titled “1. Create the project directory and initialize npm”mkdir lesson-15cd lesson-15npm init -yThis will create a package.json file with default values.
2. Install JSON server
Section titled “2. Install JSON server”npm install json-serverThe json-server package allows you to create a fully functional REST API from a simple JSON file.
3. Create the database file
Section titled “3. Create the database file”Create a new file named db.json in the project directory with the following contents:
{ "books": [ { "id": "1", "title": "The Legend of Hyrule", "author": "Zelda", "year": 2020, "genre": "Fantasy" }, { "id": "2", "title": "The Hero's Journey", "author": "Link", "year": 2022, "genre": "Adventure" }, { "id": "3", "title": "Chronicles of Ganon", "author": "Ganondorf", "year": 2021, "genre": "Epic" } ]}4. Create a script and start the server
Section titled “4. Create a script and start the server”Add a api-server script to the package.json file:
..."scripts": { "api-server": "json-server --watch db.json --port 3000"}...Run the script to start the API server:
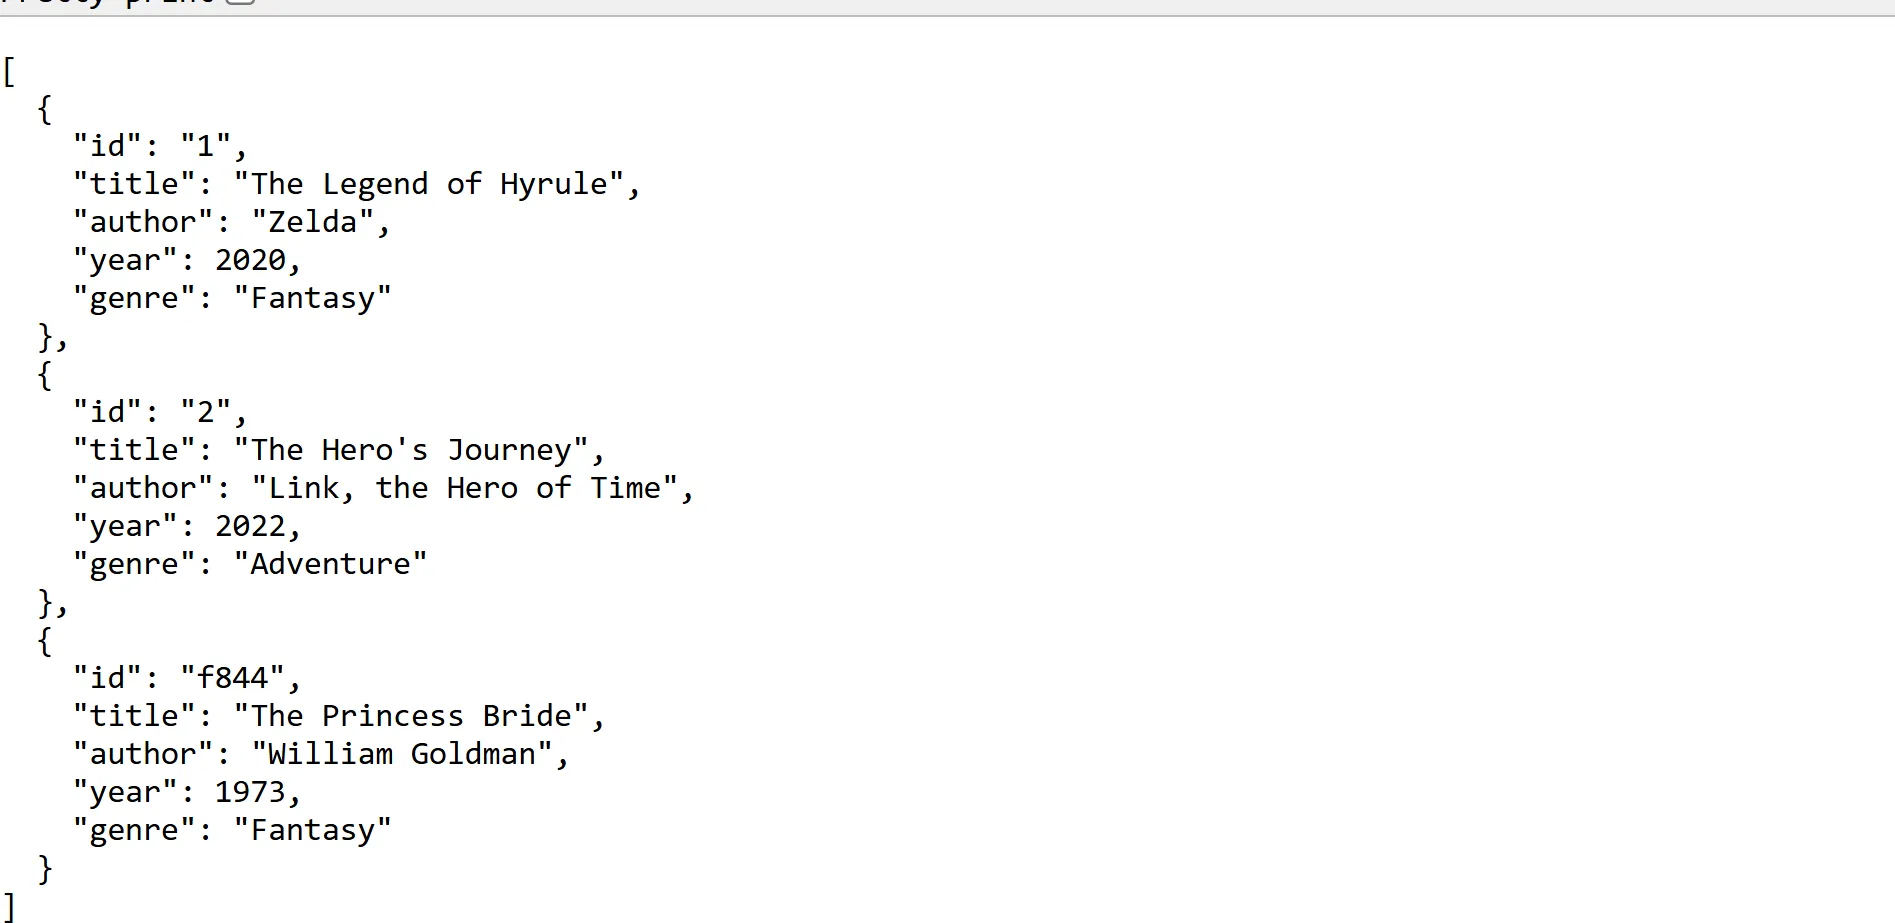
npm run api-serverOnce running, you’ll see available routes listed in the terminal. Test them in your browser:
Using browser and DevTools
Section titled “Using browser and DevTools”The browser automatically sends GET requests when navigating to a URL.
Use the Network tab in DevTools to inspect:
- Request method
- URL and headers
- Response status code (e.g., 200 OK)
- JSON response body
Try reloading the page and observing what happens.
Using the REST Client (VS Code Extension)
Section titled “Using the REST Client (VS Code Extension)”- Install the REST Client VS Code extension.
- Create a new file named
requests.httpin the project directory. - Add the following sample requests:
### GET all booksGET http://localhost:3000/booksAccept: application/json
### POST new bookPOST http://localhost:3000/booksContent-Type: application/json
{  "title": "Tales of the Triforce",  "author": "Impa",  "year": 2023,  "genre": "Lore"}
### PATCH update a bookPATCH http://localhost:3000/books/2Content-Type: application/json
{  "author": "Link, the Hero of Time"}
### DELETE a bookDELETE http://localhost:3000/books/3- Ensure that the server is still running, and if not, start the server and click the
Send Requestcommand in VS Code above any request to execute it (see image below).
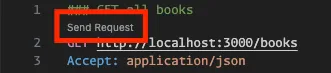
- View responses (status code, body, headers) directly in VS Code.
HTTP status codes
Section titled “HTTP status codes”| Code | Meaning | When It Appears |
|---|---|---|
| 200 | OK | Successful GET, PUT, PATCH |
| 201 | Created | Successful POST |
| 400 | Bad Request | Invalid JSON format or missing fields |
| 404 | Not Found | Resource does not exist |
| 500 | Server Error | Internal JSON Server issue |
Shutdown the server
Section titled “Shutdown the server”You can shutdown the json-server using ctrl + c
ctrl + cPush to your GitHub workbook repo
Section titled “Push to your GitHub workbook repo”Once you’re done making your own custom updates to the project, stage your files, commit your work, and push to the remote repository.
- Open a terminal in VS Code
- Stage all updated and created files:
git add .- Commit the changes:
git commit -m 'Lesson 15 Example'- Push your changes to the remote workbook repository:
git push origin main