Form Event Handling
Learning Outcome Guide
Section titled “Learning Outcome Guide”At the end of this class, you should be able to…
- Implement event listeners for form submissions using the submit event.
- Access and manipulate form input values using JavaScript.
- Prevent default form behavior to enable custom form processing.
Additional Notes: Students must read chapter 11 of JSFBP
Coding Demo
Section titled “Coding Demo”In-Class Demo Jan 2026 term
To run the coding demo, you need to have your Student Workbook open in Visual Studio Code.
-
Open the terminal window and paste in the following.
Run from the root of your repository pnpm dlx tiged --disable-cache --force DG-InClass/SDEV-1150-A04-Jan-2026/sk/lesson-10 ./src/lesson-10 -
Walk through the steps in the
ReadMe.mdof the new lesson.
Walkthrough
Section titled “Walkthrough”Complete the demo along with your instructor and then attempt the exercise prompts (see the comments in the main.js file).
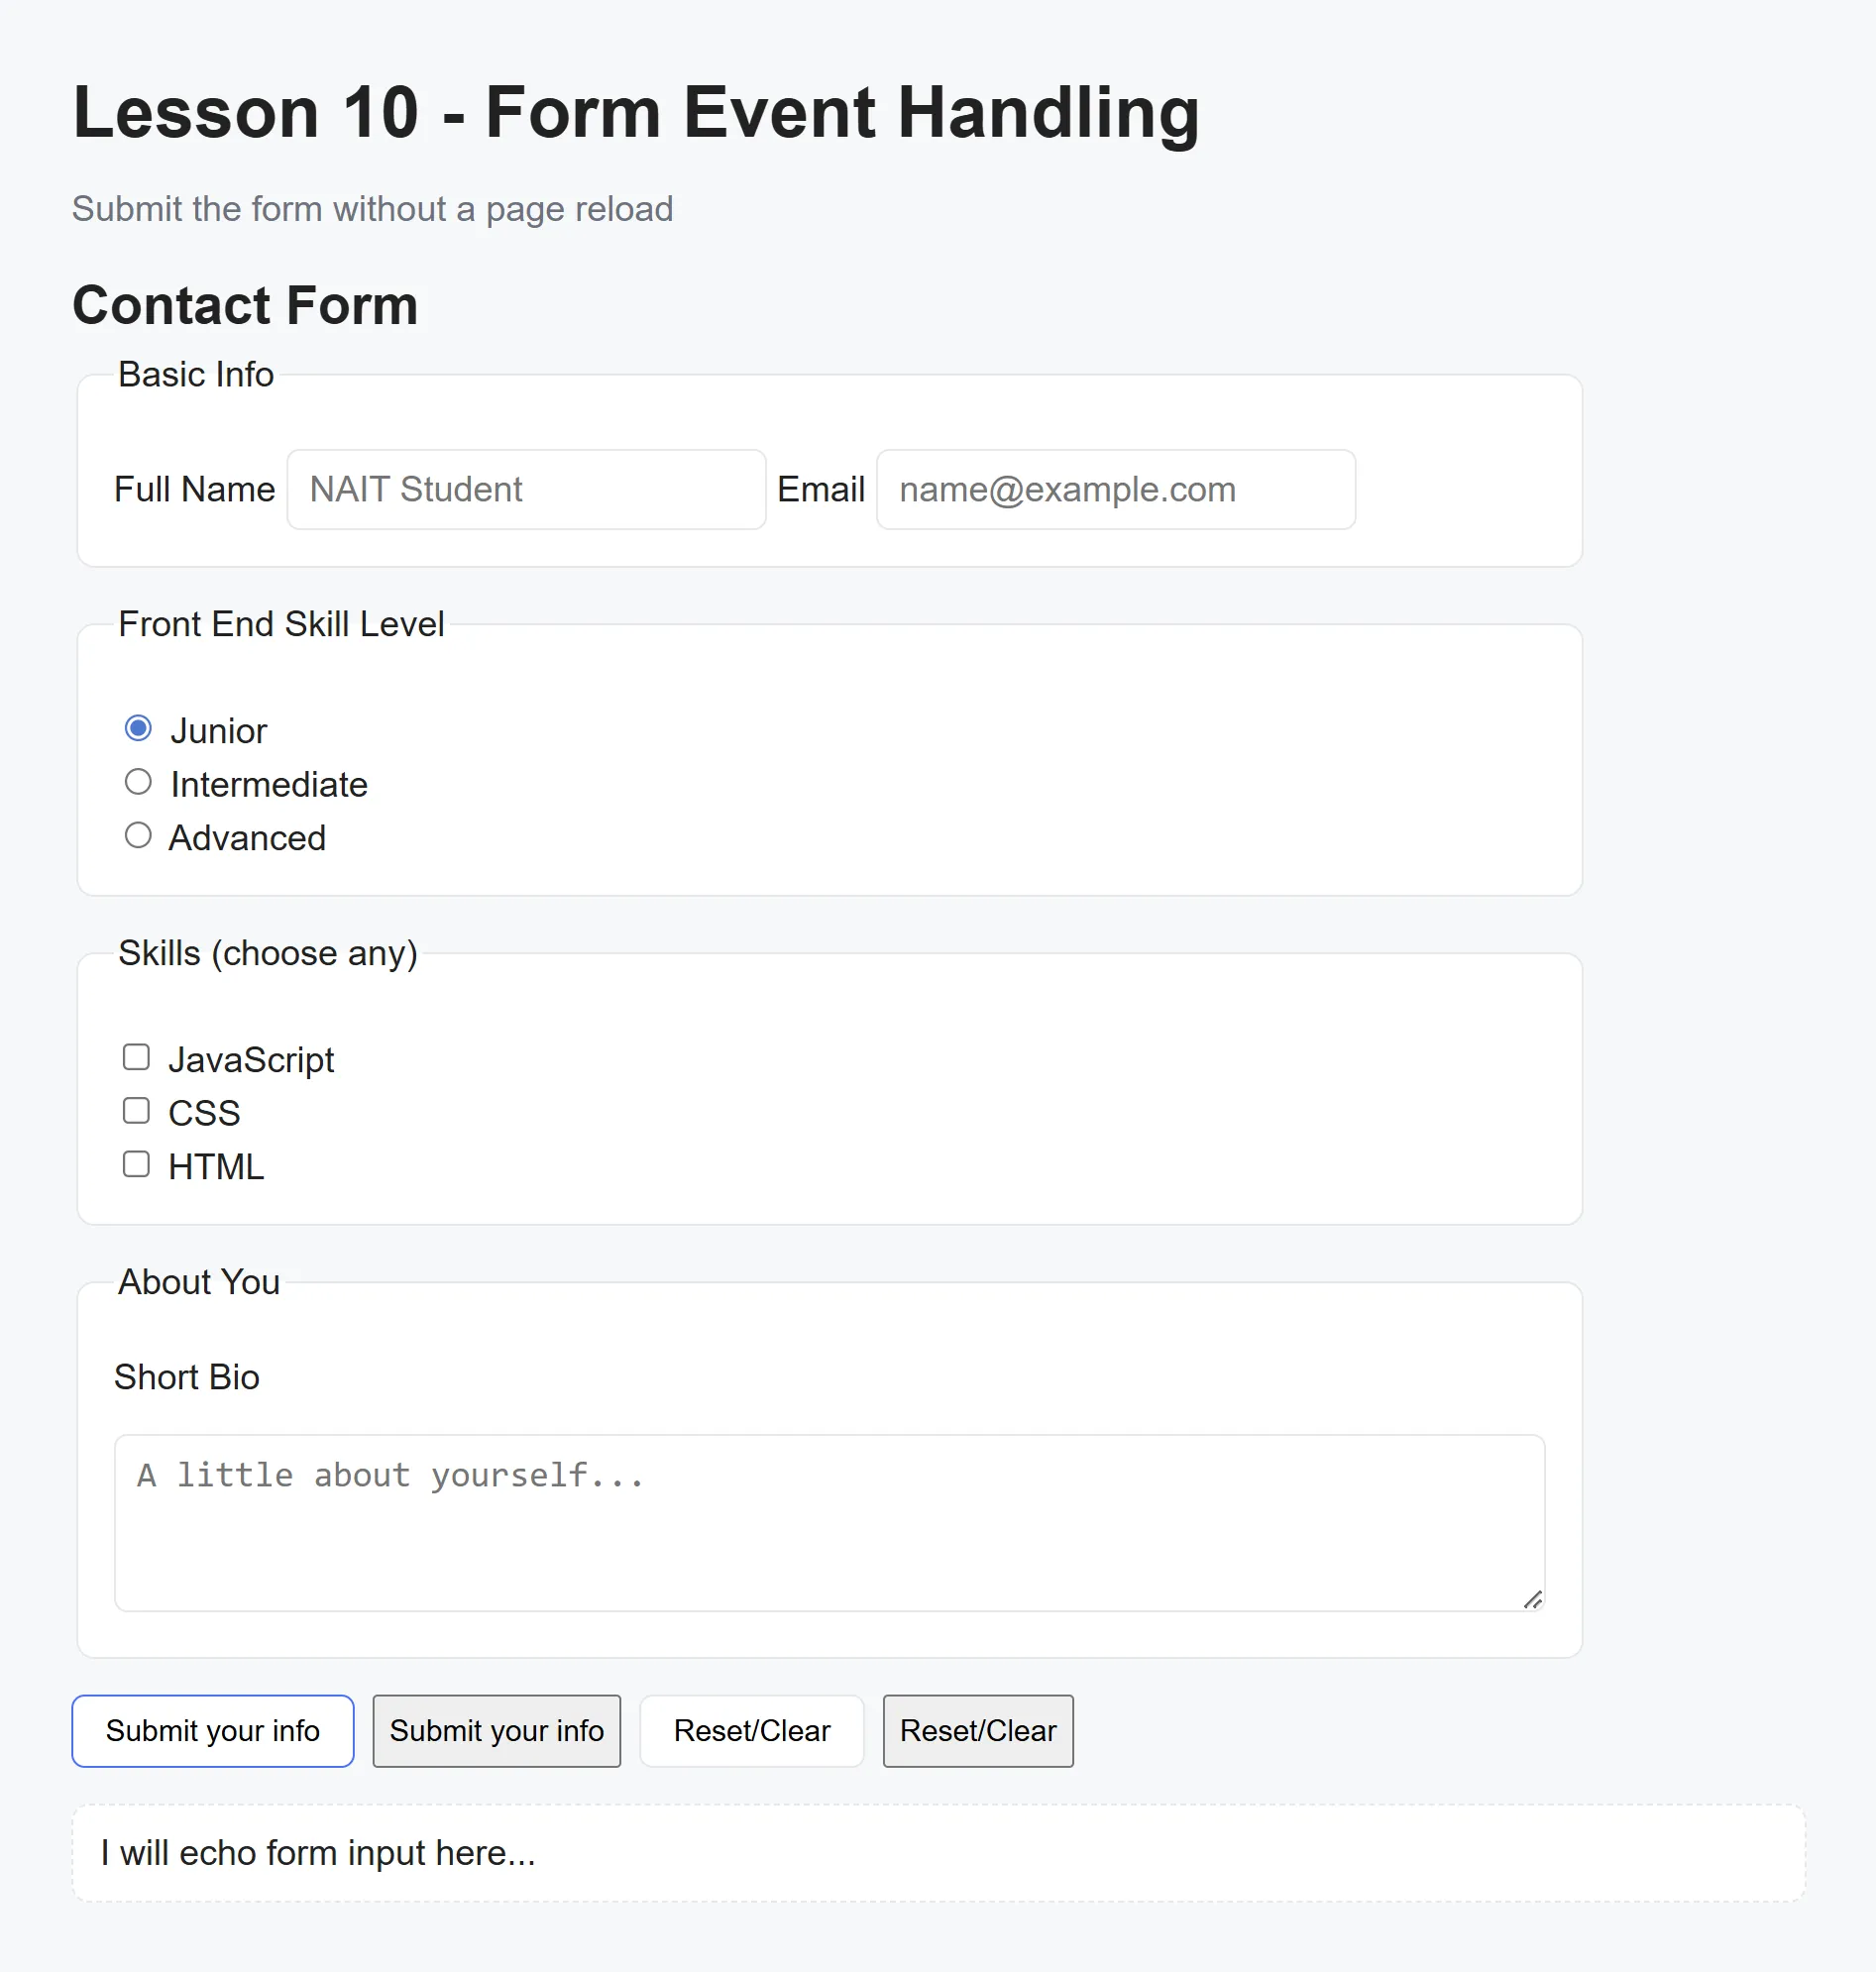
This lesson walks through working with forms: reading values, gathering checkbox/radio inputs, handling submit (preventing default navigation), and showing a structured summary of form data.
Select required elements
Section titled “Select required elements”const form = document.querySelector('#contact-form');const result = document.querySelector('#result');Serialize form data (gather values)
Section titled “Serialize form data (gather values)”function serializeForm(formEl) { // Access inputs from form.elements const { fullName, email, bio } = formEl.elements;
// Radio value const plan = formEl.elements.plan.value;
// Checkboxes: gather checked values const topics = Array.from(formEl.querySelectorAll('input[name="topics"]:checked')) .map(cb => cb.value);
return { fullName: fullName.value.trim(), email: email.value.trim(), plan, topics, bio: bio.value.trim(), submittedAt: new Date().toLocaleString(), };}Handle form submission (prevent page reload)
Section titled “Handle form submission (prevent page reload)”form.addEventListener('submit', (event) => { event.preventDefault(); // stop form from navigating/reloading
const data = serializeForm(form);
result.textContent = `Submission received: - Name: ${data.fullName || '(none)'} - Email: ${data.email || '(none)'} - Skill: ${data.plan || '(none)'} - Strengths: ${data.topics.length ? data.topics.join(', ') : '(none)'} - Bio: ${data.bio || '(none)'} - Time: ${data.submittedAt}`;});Handle form reset (clear result area)
Section titled “Handle form reset (clear result area)”form.addEventListener('reset', () => { result.textContent = 'Awaiting submission...';});Push to your GitHub workbook repo
Section titled “Push to your GitHub workbook repo”Once you’re done making your own custom updates to the project, stage your files, commit your work, and push to the remote repository.
- Open a terminal in VS Code
- Stage all updated and created files:
git add .- Commit the changes:
git commit -m 'Lesson 10 Example'- Push your changes to the remote workbook repository:
git push origin main