Intro to Event-Driven Applications
Learning Outcome Guide
Section titled “Learning Outcome Guide”At the end of this class, you should be able to…
- Explain the concept of event-driven programming in the context of web development.
- Identify common browser events (e.g., click, mouseover, keydown).
- Use JavaScript to respond to basic events and dynamically update DOM content.
Additional Notes: Students must read chapter 11 of JSFBP
Coding Demo
Section titled “Coding Demo”In-Class Demo Jan 2026 term
To run the coding demo, you need to have your Student Workbook open in Visual Studio Code.
-
Open the terminal window and paste in the following.
Run from the root of your repository pnpm dlx tiged --disable-cache --force DG-InClass/SDEV-1150-A04-Jan-2026/sk/lesson-08 ./src/lesson-08 -
Walk through the steps in the
ReadMe.mdof the new lesson.
Walkthrough
Section titled “Walkthrough”Complete the demo along with your instructor and then attempt the exercise prompts (see the comments in the main.js file). Begin with installing the dependencies and starting the development server.
Load event and readiness
Section titled “Load event and readiness”NOTE: while it’s possible to delay script execution until the
DOMContentLoadedevent has fired, if the script is loaded usingasync,defer, ortype="module"attributes, it’s unnecessary.
// Wrap behavior in DOMContentLoaded to ensure elements existwindow.addEventListener('DOMContentLoaded', () => { console.log('DOM fully loaded and parsed'); // Add your event listeners and DOM code here});Selecting required elements
Section titled “Selecting required elements”const btnToggle = document.querySelector('#btn-toggle');const btnMessage = document.querySelector('#btn-message');const message = document.querySelector('#message');const hoverCard = document.querySelector('#hover-card');const hoverStatus = document.querySelector('#hover-status');const keyOutput = document.querySelector('#key-output');const list = document.querySelector('#list');const selection = document.querySelector('#selection');click event: toggle a highlight class on the body
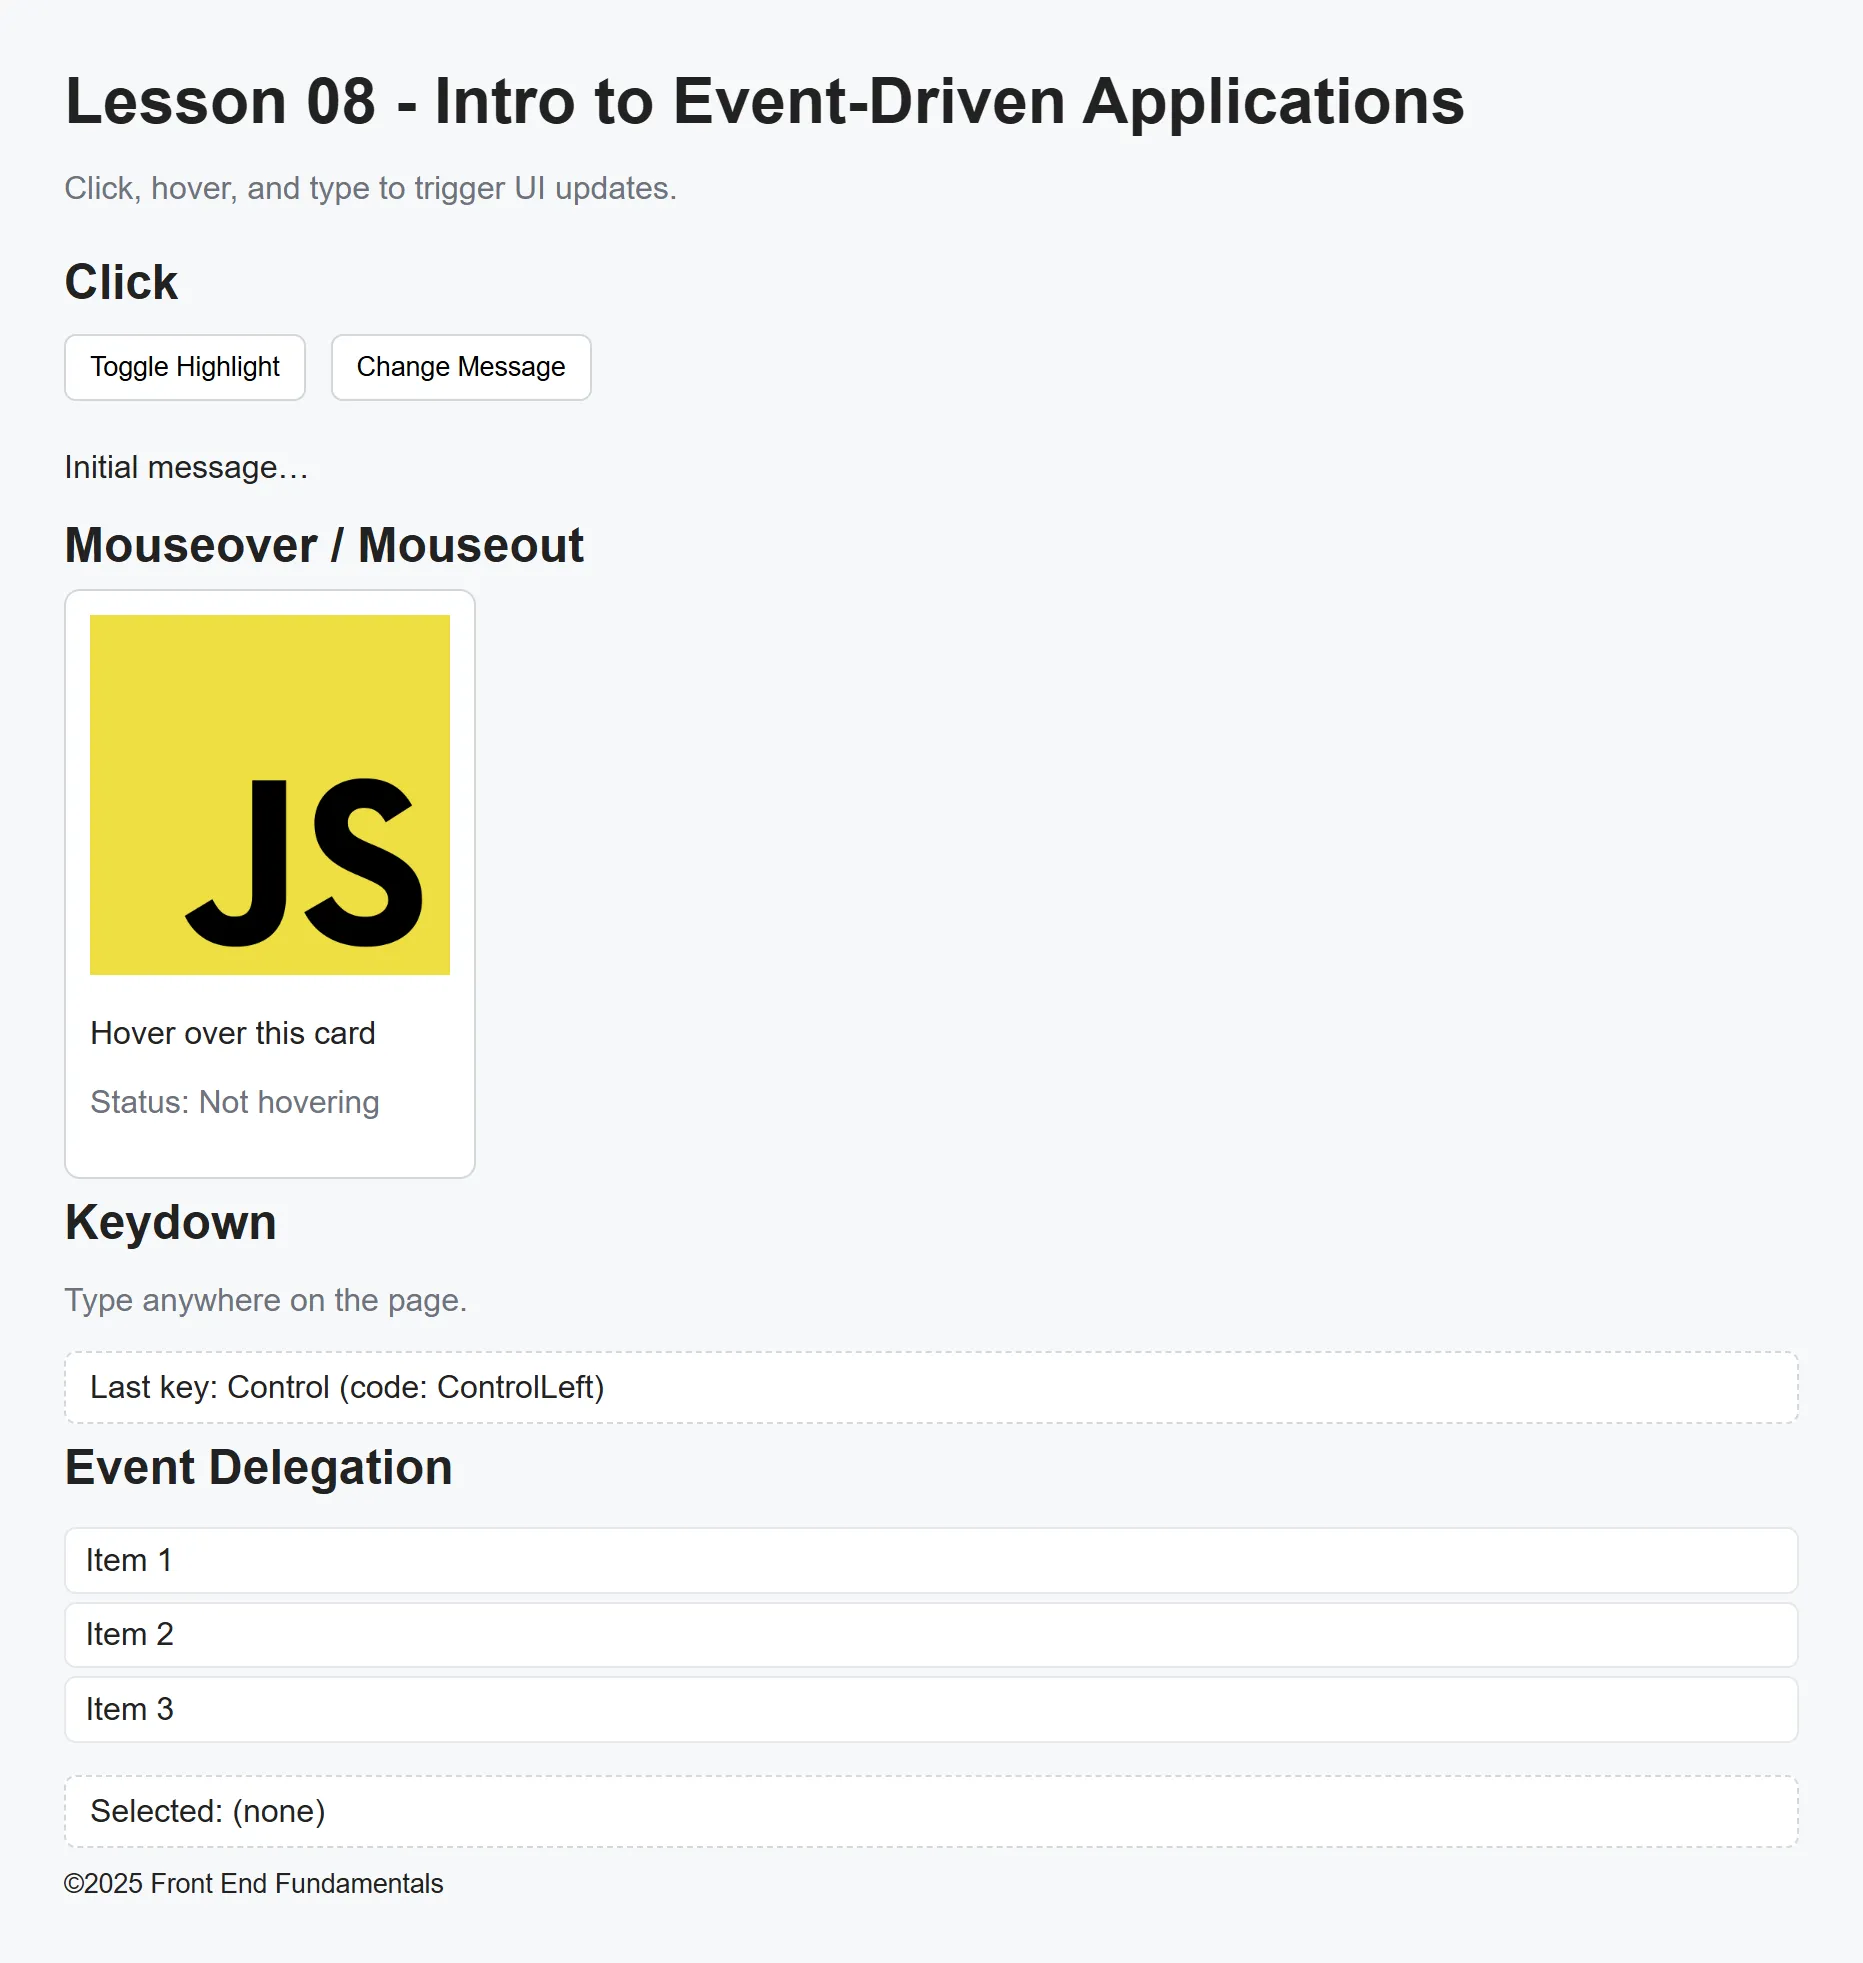
Section titled “click event: toggle a highlight class on the body”btnToggle.addEventListener('click', () => { document.body.classList.toggle('highlight'); const on = document.body.classList.contains('highlight'); btnToggle.textContent = on ? 'Highlight is ON' : 'Highlight is OFF';});click event: change message text
Section titled “click event: change message text”btnMessage.addEventListener('click', () => { const timeString = new Date().toLocaleTimeString(); message.textContent = `Message updated at ${timeString}`;});mouseover and mouseout events: display hover status on the card
Section titled “mouseover and mouseout events: display hover status on the card”hoverCard.addEventListener('mouseover', () => { hoverStatus.textContent = 'Status: Hovering';});hoverCard.addEventListener('mouseout', () => { hoverStatus.textContent = 'Status: Not hovering';});keydown event: show last key pressed
Section titled “keydown event: show last key pressed”document.addEventListener('keydown', (e) => { keyOutput.textContent = `Last key: ${e.key} (code: ${e.code})`;});Event delegation: one listener on the <ul> for all <li> elements
Section titled “Event delegation: one listener on the <ul> for all <li> elements”Event delegation is a simple pattern where you attach one event listener to a common ancestor (for example a <ul>) rather than adding the same listener to each child (<li>). Because most DOM events bubble up from the originating element to its ancestors, the parent can catch the event and determine which child triggered it (using event.target or event.target.closest()). This makes delegation a great fit for lists, tables, or any container where items are added or removed dynamically.
list.addEventListener('click', (e) => {  if (e.target.tagName === 'LI') {    // Remove previous selection    const prev = list.querySelector('li.active');    if (prev) {      prev.classList.remove('active');    }
    // Activate clicked    li.classList.add('active');
    const id = li.getAttribute('data-id');    selection.textContent = `Selected: Item ${id}`;  }});
Push to your GitHub workbook repo
Section titled “Push to your GitHub workbook repo”Once you’re done making your own custom updates to the project, stage your files, commit your work, and push to the remote repository.
- Open a terminal in VS Code
- Stage all updated and created files:
git add .- Commit the changes:
git commit -m 'Lesson 08 Example'- Push your changes to the remote workbook repository:
git push origin main