Dynamic content
Learning Outcome Guide
Section titled “Learning Outcome Guide”At the end of this class, you should be able to…
- Create and insert new HTML elements into the DOM using JavaScript.
- Traverse the DOM tree to select parent, child, and sibling elements.
- Remove and replace elements dynamically within the DOM.
- Apply dynamic updates to element attributes and styles.
- Use built-in timers to execute functions.
The focus of this lesson is on navigation of the DOM using API calls and element relationships. Basic implementation of setTimeout and setInterval should also be
Students must read chapter 10 of JSFBP
Coding Demo
Section titled “Coding Demo”In-Class Demo Jan 2026 term
To run the coding demo, you need to have your Student Workbook open in Visual Studio Code.
-
Open the terminal window and paste in the following.
Run from the root of your repository pnpm dlx tiged --disable-cache --force DG-InClass/SDEV-1150-A04-Jan-2026/sk/lesson-06 ./src/lesson-06 -
Walk through the steps in the
ReadMe.mdof the new lesson.
Walkthrough
Section titled “Walkthrough”Install dependencies and run the dev server
Section titled “Install dependencies and run the dev server”- Move into the lesson-06/ directory:
cd lesson-06- Install the necessary dependencies:
npm installor
npm i- Run the dev server with the
devscript:
npm run dev- Open the provided development server URL in your browser
- You should see the default render for the vite project.
- Use this as the base for today’s examples.
Instructor Demo and Student Exercise
Section titled “Instructor Demo and Student Exercise”Complete the demo along with your instructor and then attempt the exercise prompts (see the comments in the main.js file).
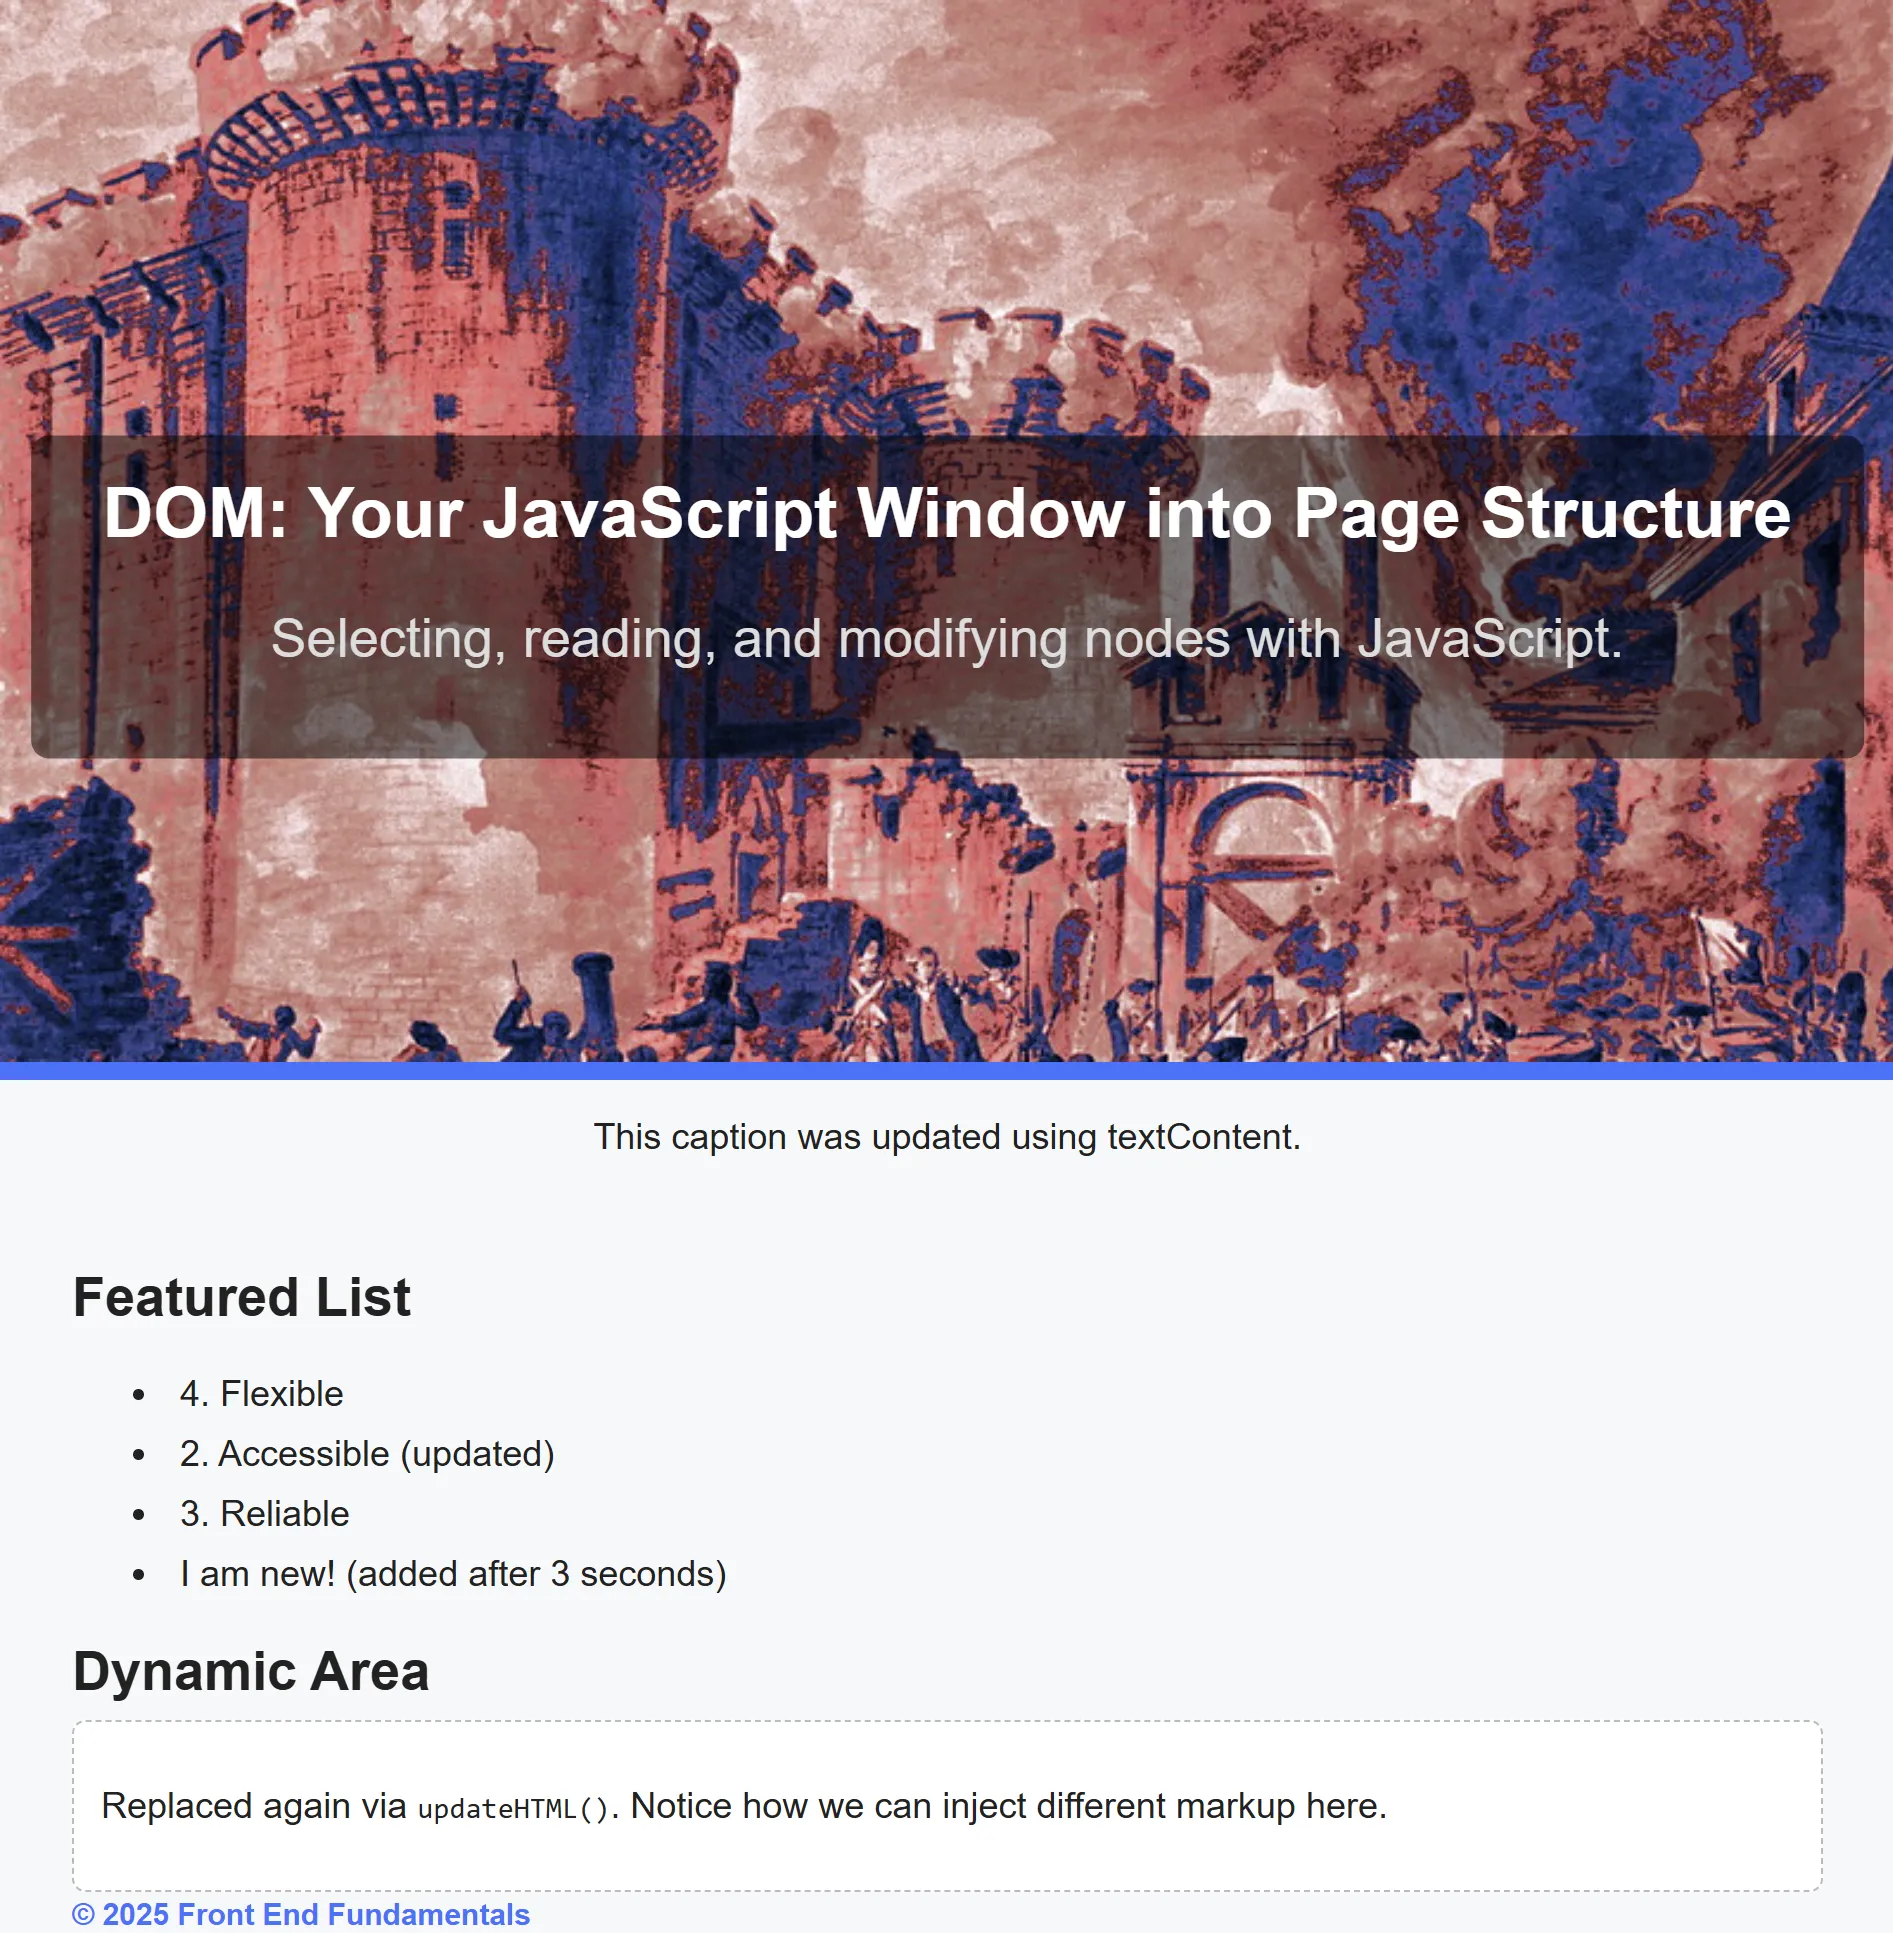
Selecting elements (including the feature list)
Section titled “Selecting elements (including the feature list)”const titleEl = document.querySelector('#page-title');const taglineEl = document.querySelector('.tagline');const heroImg = document.querySelector('#hero-img');const heroCaption = document.querySelector('#hero-caption');const dynamicBox = document.querySelector('#dynamic-box');const footerNote = document.querySelector('#footer-note');
// new for Lesson 06const featureList = document.querySelector('#feature-list');
console.log('Selected elements:', { titleEl, taglineEl, heroImg, heroCaption, featureList, dynamicBox, footerNote });Add a new list item dynamically
Section titled “Add a new list item dynamically”const li = document.createElement('li');li.className = 'feature';li.textContent = 'Flexible';featureList.appendChild(li);Retrieve all list items and update their text
Section titled “Retrieve all list items and update their text”const features = document.querySelectorAll('.feature');features.forEach((li, idx) => { li.textContent = `${idx + 1}. ${li.textContent}`;});Remove the first item and update neighbors
Section titled “Remove the first item and update neighbors”// remove the first elementfeatureList.removeChild(featureList.firstElementChild);
// update the second item using nextElementSiblingfeatureList.firstChild.nextElementSibling.textContent += ' (updated)';Move the last item to the front
Section titled “Move the last item to the front”const last = featureList.removeChild(featureList.lastChild);featureList.insertBefore(last, featureList.firstChild);Add an item after a delay using a timer
Section titled “Add an item after a delay using a timer”setTimeout(() => { const newLi = document.createElement('li'); newLi.className = 'feature'; newLi.textContent = 'I am new! (added after 3 seconds)'; featureList.appendChild(newLi);}, 3000);Push to your GitHub workbook repo
Section titled “Push to your GitHub workbook repo”Once you’re done making your own custom updates to the project, stage your files, commit your work, and push to the remote repository.
- Open a terminal in VS Code
- Stage all updated and created files:
git add .- Commit the changes:
git commit -m 'Lesson 06 Example'- Push your changes to the remote workbook repository:
git push origin main