Assignments via GitHub
Course assignments and student workbooks are often distributed as git repositories via GitHub. You can accept invitations to any of these by going to your Organization Settings on GitHub.
Accepting Pull Requests
Section titled “Accepting Pull Requests”When your instructor hands out an assignment (or posts a fix or some starter code), the changes usually arrive as a pull request on your repository. A pull request is just a request to add one set of changes into your main branch. Nothing is added to your project until you merge it.
Here is how to merge a pull request on GitHub.
-
Open your assignment repository on GitHub.
-
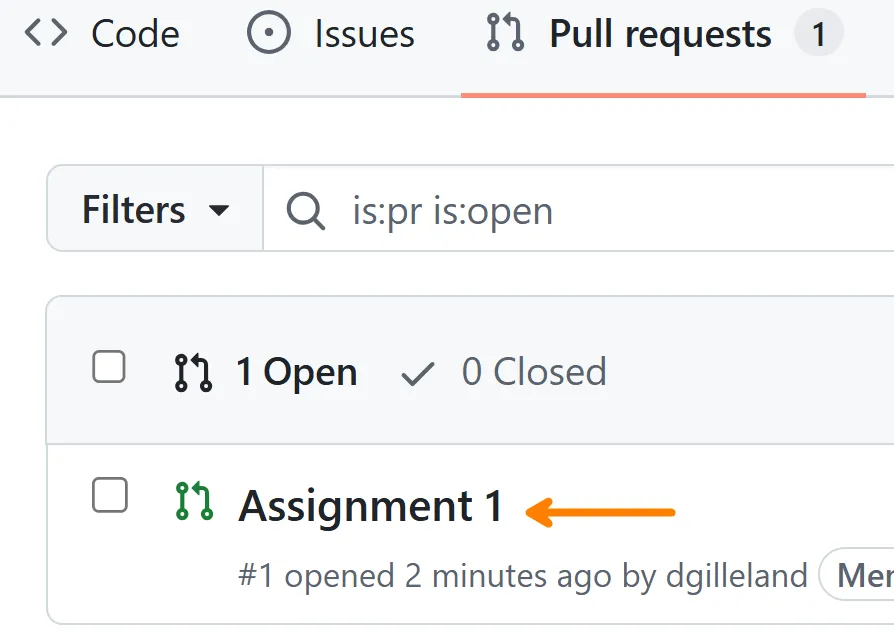
Click the Pull requests tab near the top of the repository. The number beside it tells you how many pull requests are waiting for you.

-
In the list, click the title of the pull request you want to accept (for example, Assignment 1).
-
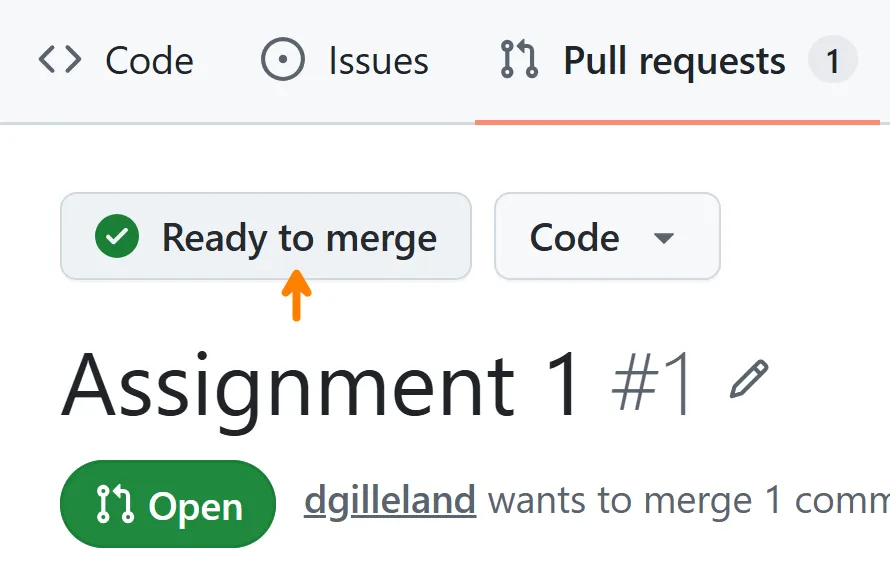
Near the top of the pull request you should see a green Ready to merge message. This means GitHub can add the changes automatically.
-
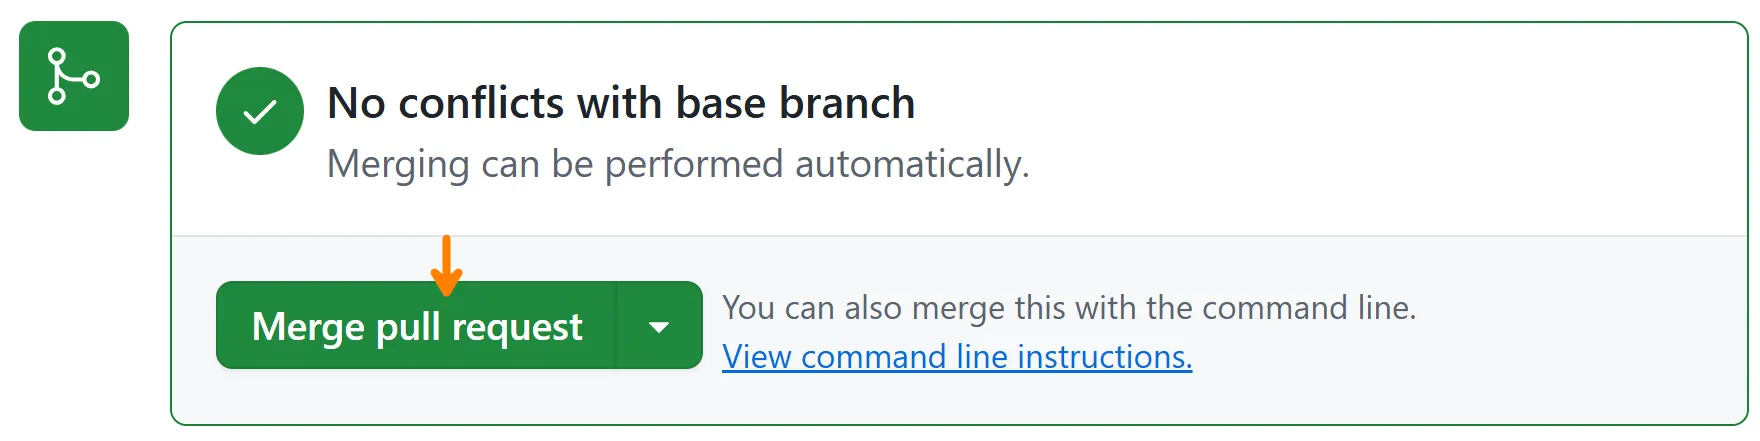
Scroll to the bottom of the Conversation tab. When you see “No conflicts with base branch”, click the green Merge pull request button.
-
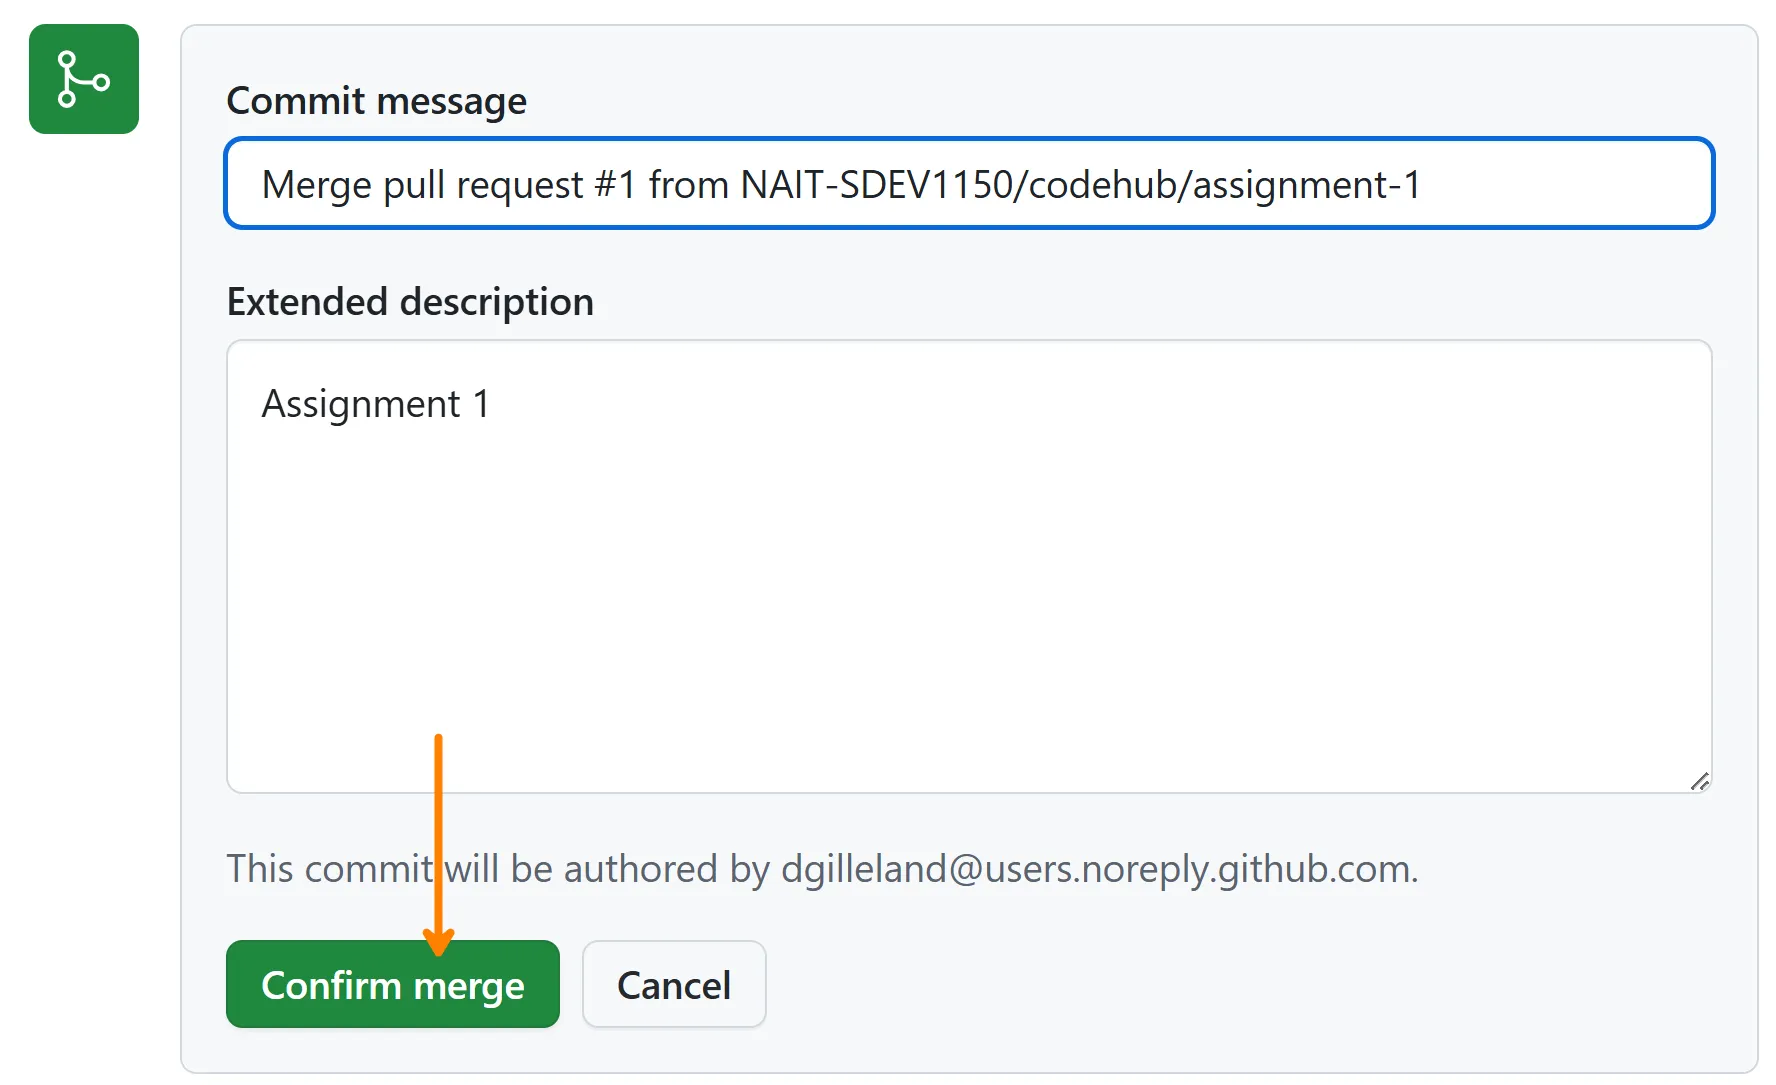
GitHub shows a commit message. Leave it as it is and click Confirm merge.
-
The pull request now shows a purple Merged badge. The changes are now part of your
mainbranch on GitHub.
-
Switch to the copy of the repository on your computer and run
git pullso your local files match GitHub.Terminal window git pull